-40%
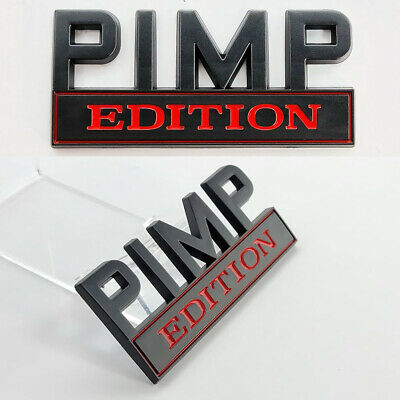
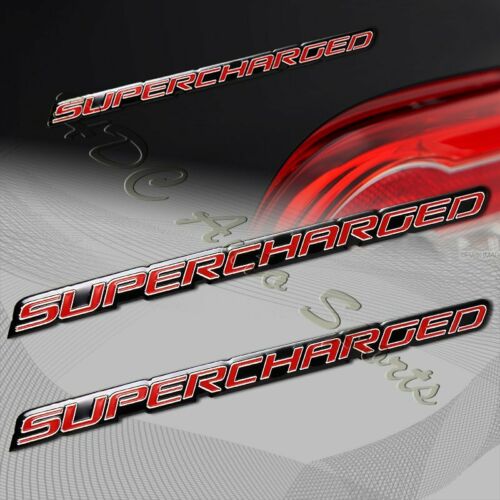
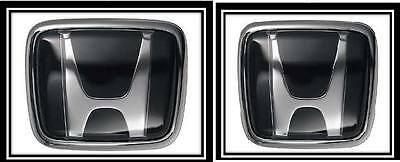
2pc PIMP EDITION Black n Red emblem Badges fits Chevy Ford Car Truck
$ 10.55
- Description
- Size Guide
Description
AMP products -The store for the best deals on new and closeout accessories and performance.
--------------------------------------------------------------------------------------------------------------------------------------
2pc 3D PIMP EDITION emblem Chrome Badges Fits RAM GMC Chevy Ford Jeep GM Truck
- REDNECK
(
Auction is for 2pc.
)
*
See the Incredible Quality in the Item in the Picture *
Regular price:
$ 44.99
•
In stock
(
1 Week Delivery / Not 3 to 6 weeks like other sellers
)
Details
2pc Emblem Set
3D Dome Surface
3 1/8 x 1 1/4 or 80mm x 30mm
Red Letters on Black Background
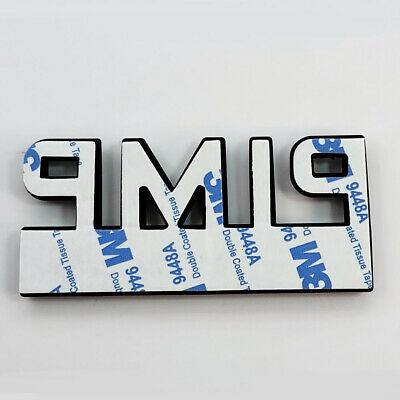
Automotive Adhesive for Long Lasting Installation
We back our Quality with a 100% Satisfaction Guarantee!
Usually ships the same business day
Important
Vehicle Emblem and Badge Installation Instructions
Step 1
Removing old emblem or emblems can done neatly by using a heat gun on the lowest setting. Carefully pry the old emblem off using a putty scraper.
Step 2
Then clean the area where the emblem adhesive still remains. Use adhesive cleaner and a clean rag.
Step 3
Most important step is to use rubbing alcohol on a different rag to clean the remaining grease or dirt from the location. Allow it to air dry.
Step 4
Using a level or ruler to create a straight line parallel to the ground, marking the location of the emblem against desired surface or body lines. Use painter’s tape to make your guide lines.
Step 5
Prepare the emblem, making sure it's clean. Be sure to never touch the application adhesive on the back of the emblem after Remove the backing tape from the adhesive.
Step 6
Hold the emblem just above the surface in the desired location, using the painter’s tape as a guide to keep the emblem level located properly.
Step 7
Stick the emblem on and hold it in place until the adhesive has had a chance to setup bond on the surface of the vehicle. This usually takes 10 seconds..
